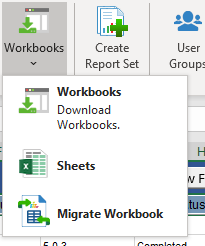
The SplashBI Excel Connect provides the user to share ,upload and download the reports as Workbooks. In version 5.3 we have moved sheets option to Workbooks dropdown and included a new feature to migrate Express XLC workbooks to SplashBI Excel Connect workbooks.
Opening the Workbook :
1) To Open a report click on the workbooks icon, there you select a Open a workbook option.From the pop up window which can be seen in the below screen.
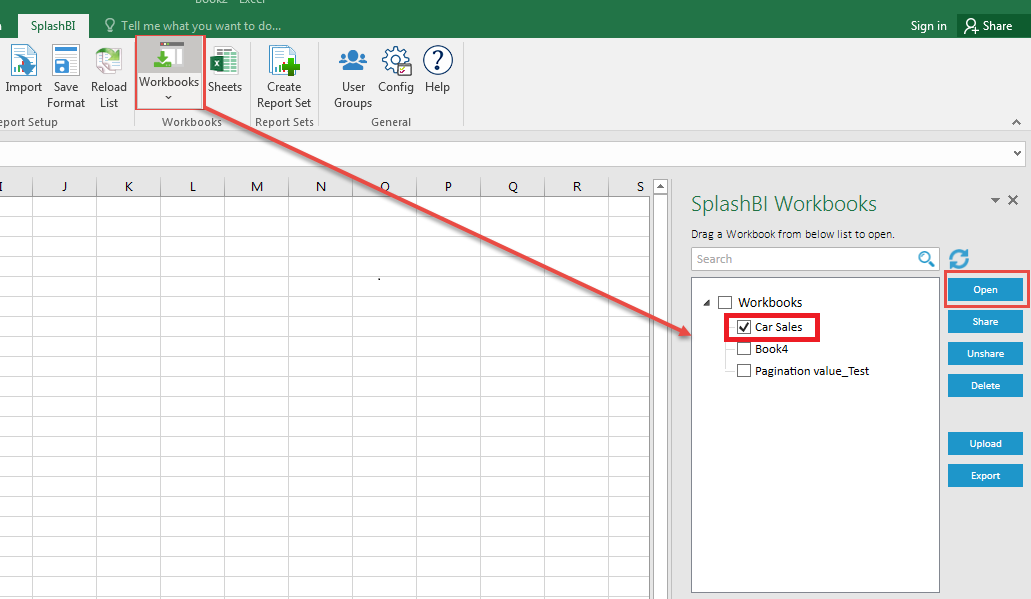
2) Now select the required Workbook and click on download button.
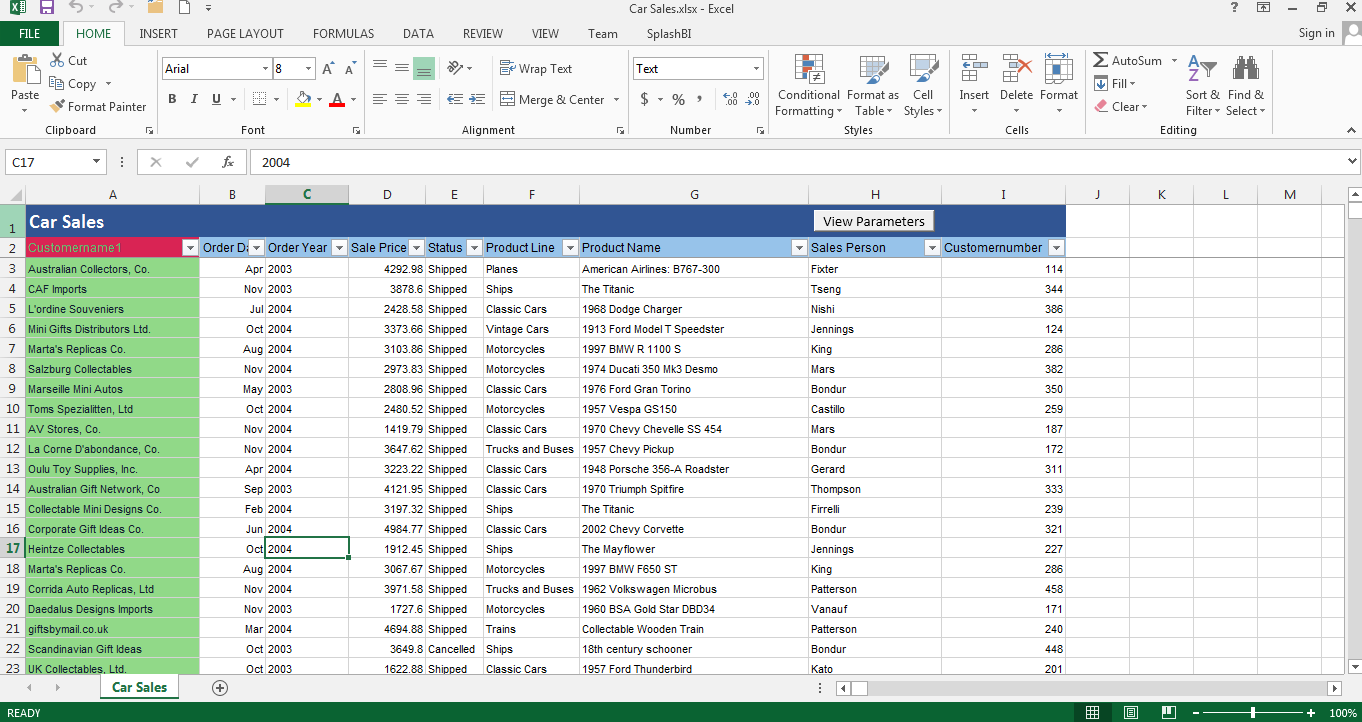
The output of the downloaded Workbook can be seen in below.
Share the Workbook :
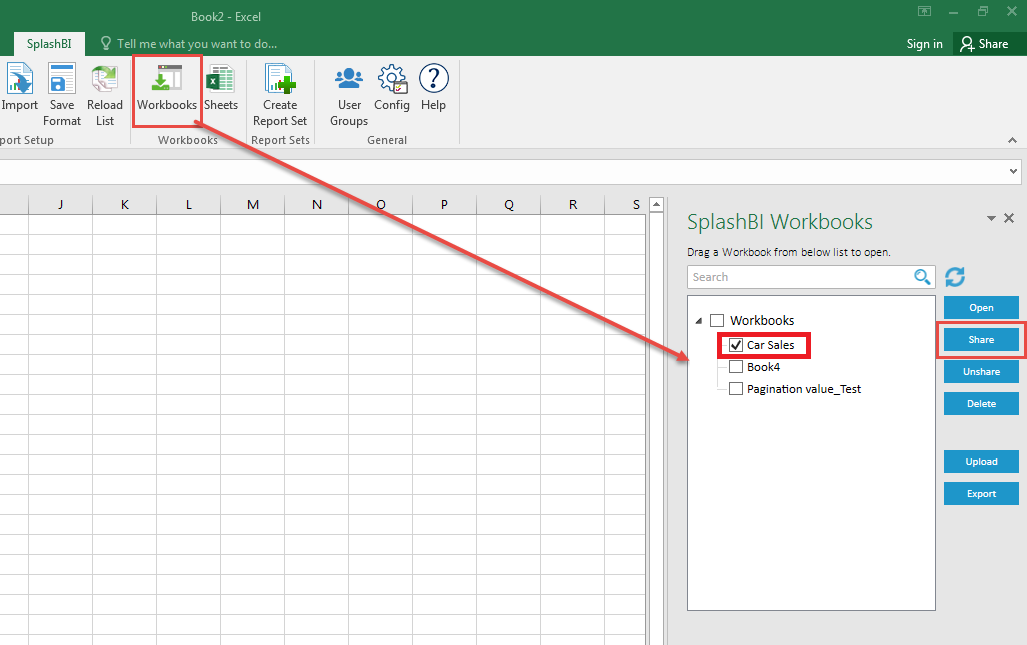
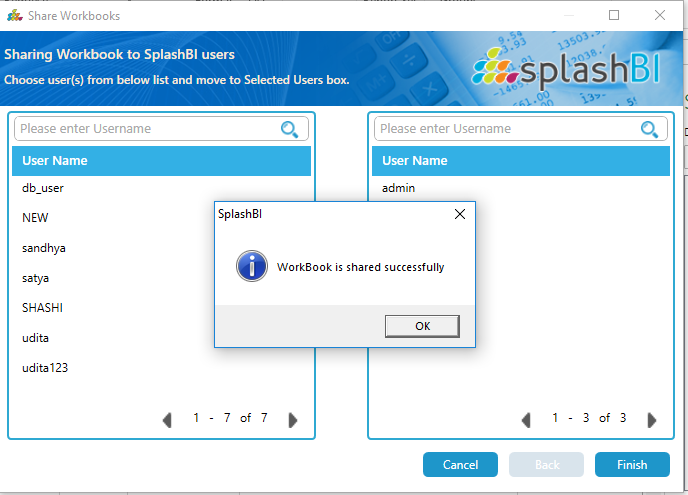
1) To Share the Workbook , select a Workbook and click on Share button which pop up a window seen in the below screen.
2) Select a user and click on Finish button.
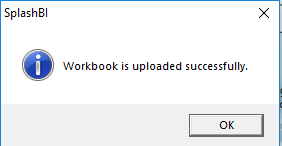
3)A confirmation will pop up indicating the Workbook was uploaded and shared successfully, and just click OK which can be seen in below screen.
UnShare the Workbook :
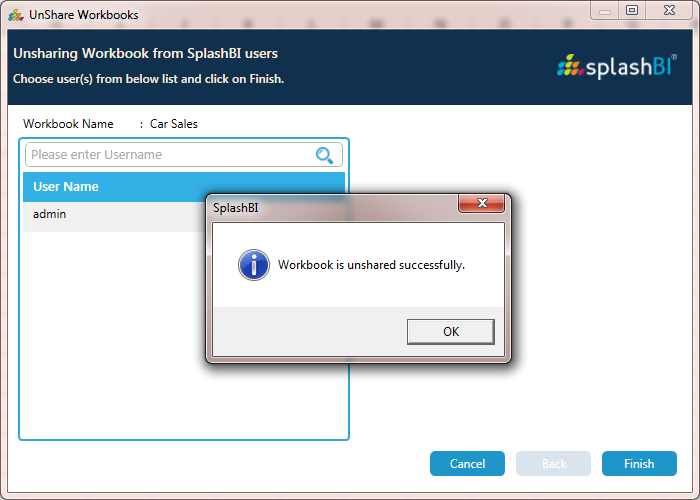
1) To UnShare the Workbook , select a Workbook and click on UnShare button which pop up a window seen in the below screen.

2) Now select a user and click on Finish button.
3)A confirmation will pop up indicating the Workbook was Unshared successfully, and just click OK which can be seen in below screen.
Delete the Workbook :
1) 1)To Delete the Workbook , select a Workbook and click on Delete button which pop up a window seen in the below screen.
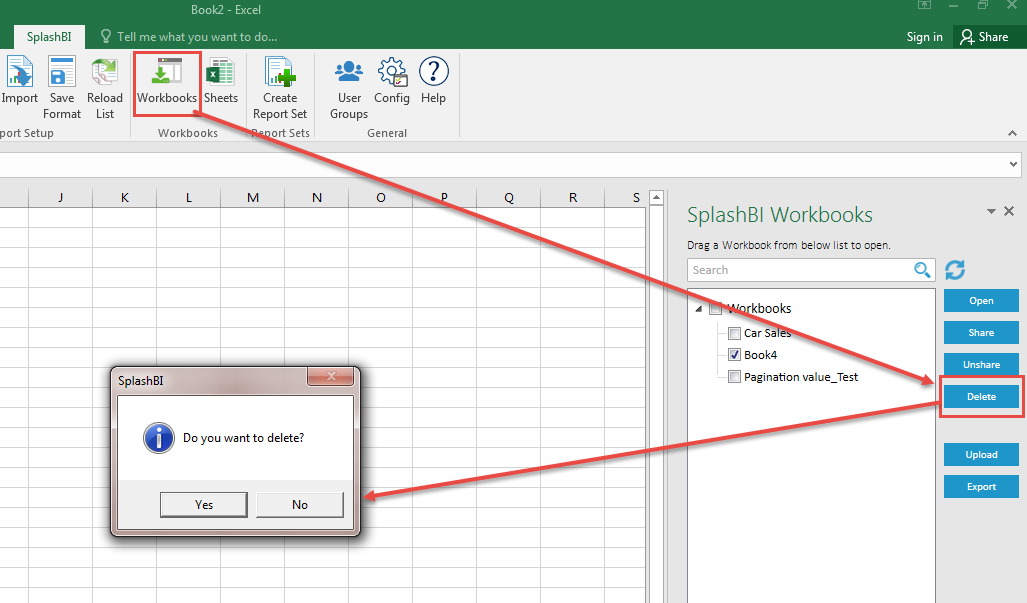
2) Click Yes for deleting.
3) Workbook will be deleted from instance.
Upload the Workbook :
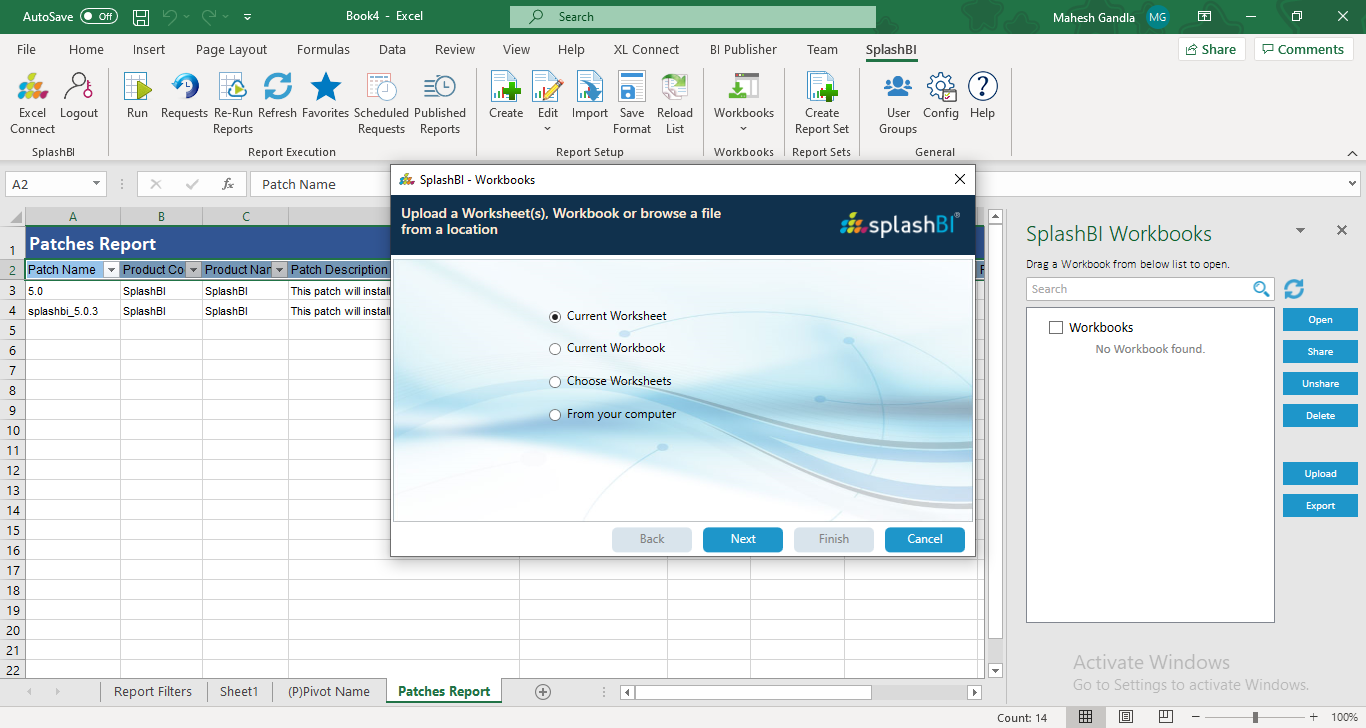
1) SplashBI Excel Connect provides the user to upload the Workbook in 4 types:
2) User can Upload the Workbook by selecting Current Worksheet or Current Workbook or Worksheets in Excel which can be seen in below window.
Current Worksheet :
2) This option makes ease of uploading Workbook of current worksheet in Excel.
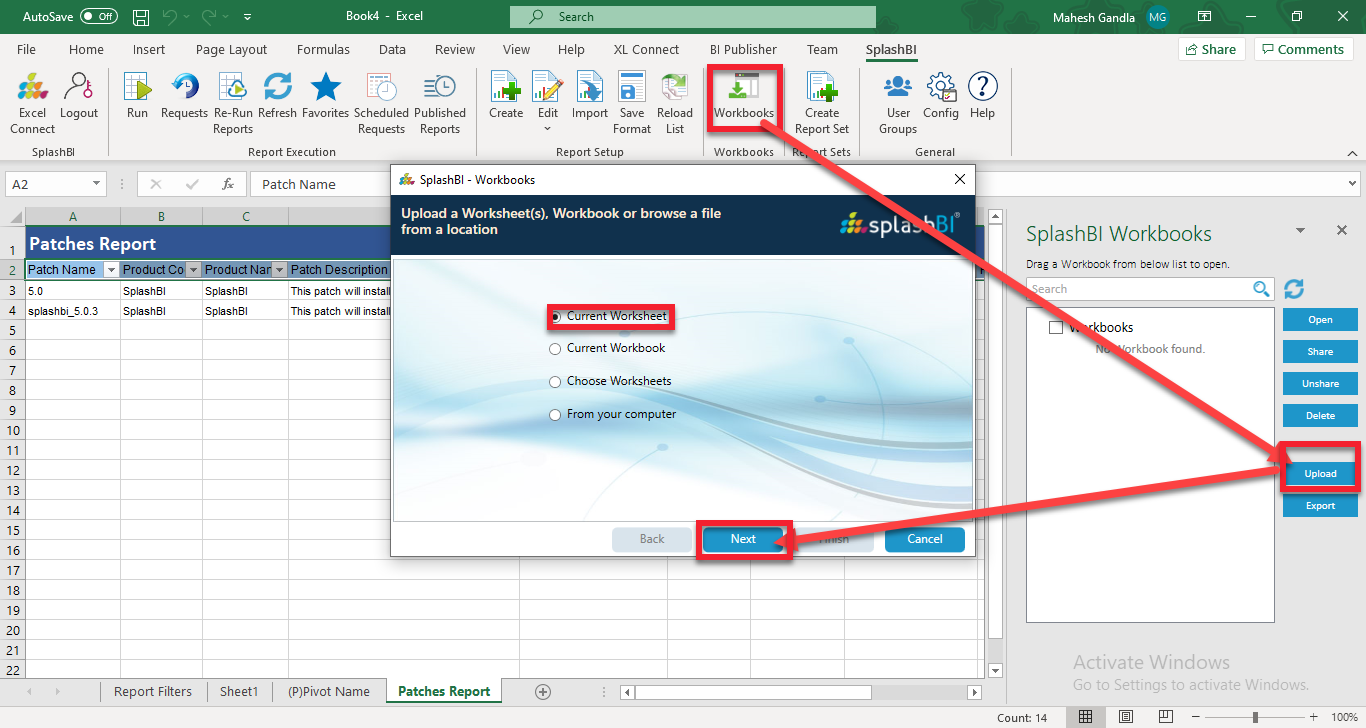
2) Click on next button to give the Workbook name which can be seen in below window.
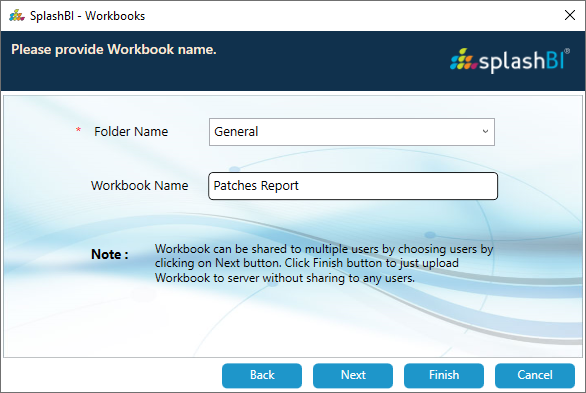
3)Now if you want to upload and share for another user click on next button which can be seen in below screen.
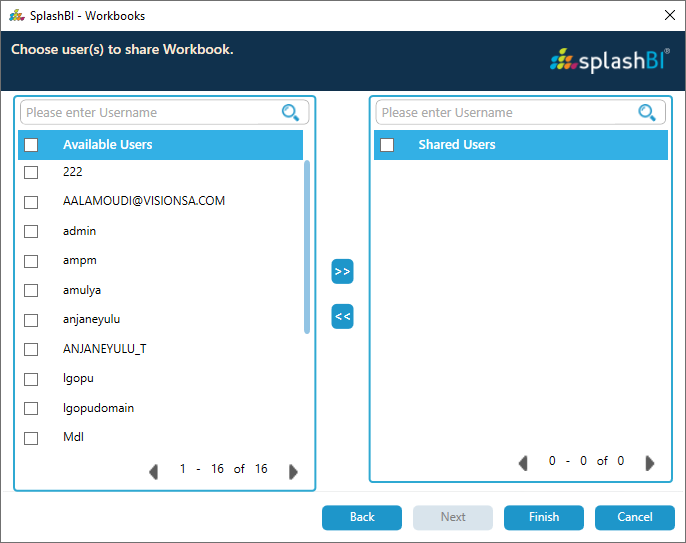
4)From the below screen select a user and click on finish button.A confirmation will pop up indicating successfull upload and share of Workbook.
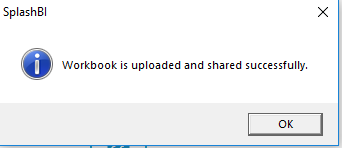
5)If want to just upload the Workbook click on finish button.A confirmation will pop up indicating successfull upload of Workbook.
Current WorkBook :
1)SplashBI Excel Connect provided the user to upload and share the Current Workbook as Workbook.
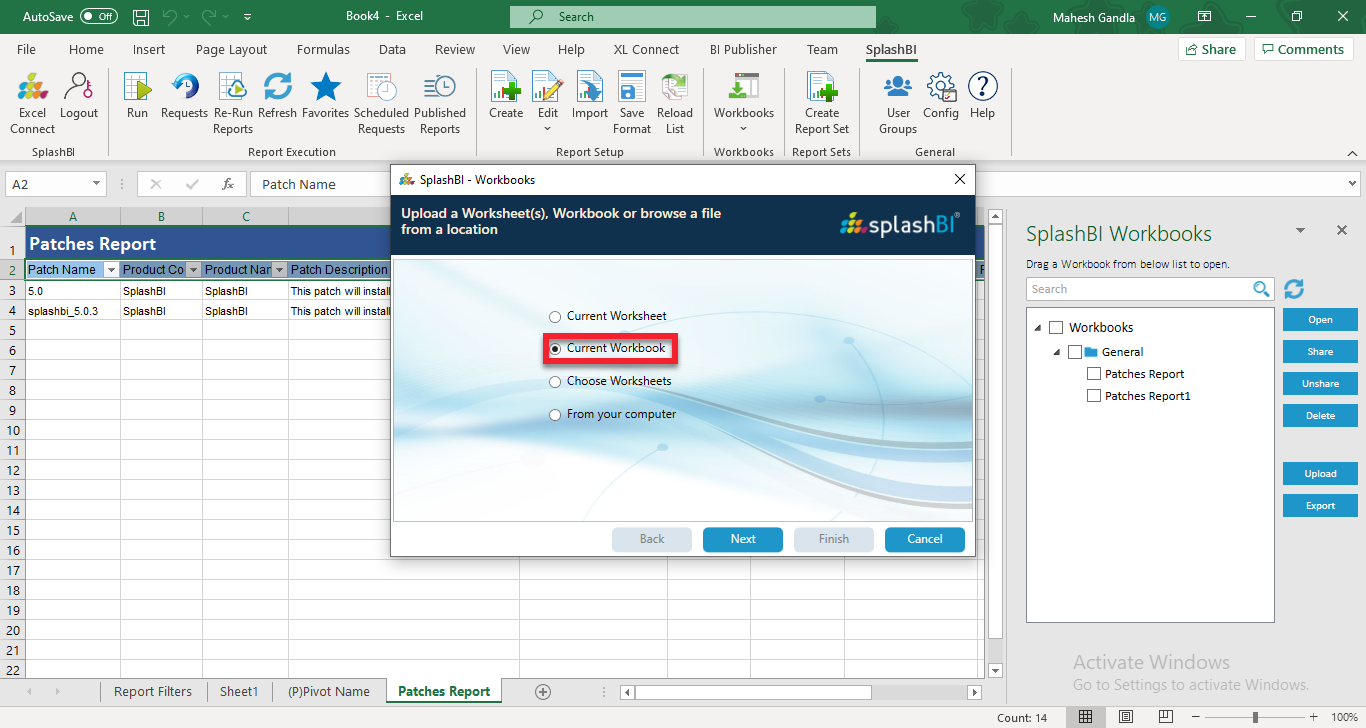
2)To upload and share Current WorkBook, select Current Workbook option and click on next button where you need to give the Workbook name.
3)Now if you want to upload and share for another user click on next button which can be seen in below screen
4)From the below screen select a user and click on finish button.A confirmation will pop up indicating successfull upload and share of Workbook.
5)If you want to just upload the Workbook click on finish button.A confirmation will pop up indicating successfull upload of Workbook.
WorkSheets :
1)With the Worksheets option you can select the desired worksheets to upload and share.
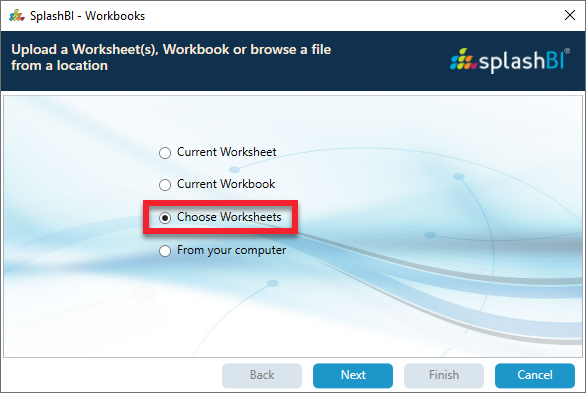
2)To upload and share selected Worksheets , click on next button where you need to give the Workbook name.
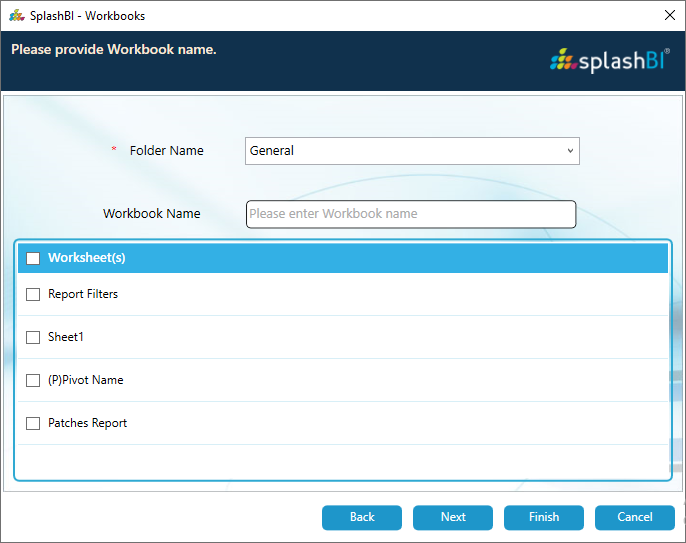
3)Now if you want to upload and share for another user click on next button which can be seen in below screen
4)From the below screen select a user and click on finish button.A confirmation will pop up indicating successfull upload and share of Workbook.
5)If want to just upload the Workbook click on finish button.A confirmation will pop up indicating successfull upload of Workbook.
From Computer :
1)With From Computer option you can browse to desired workbook which saved on your PC and can upload and share. We can upload only Excel Workbooks.
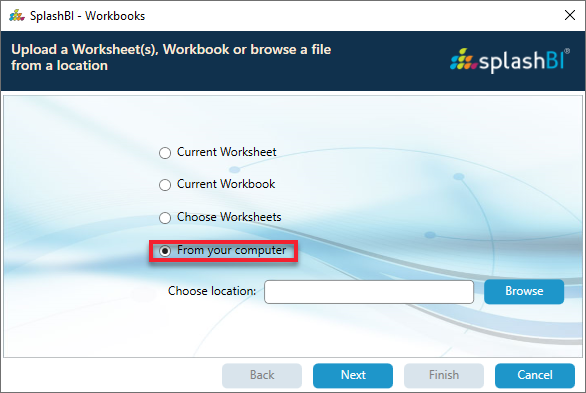
2)To upload and share selected Worksheets , click on browse and go to the location of the file which you want to upload.

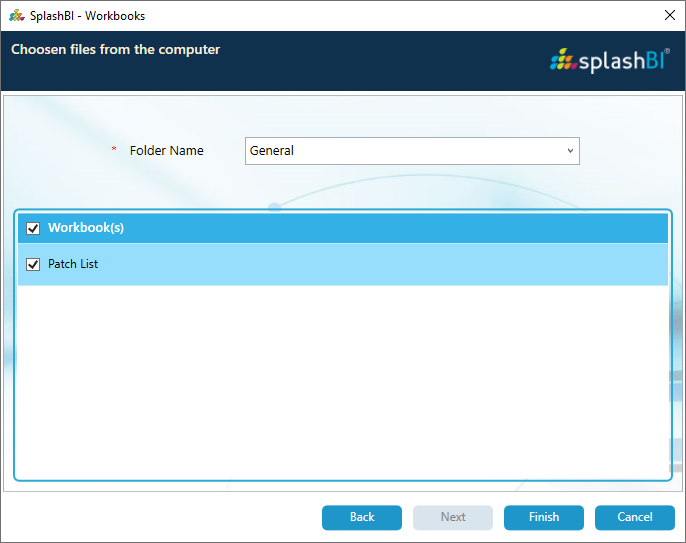
3)Now select the worksheet you want to upload and click on finish
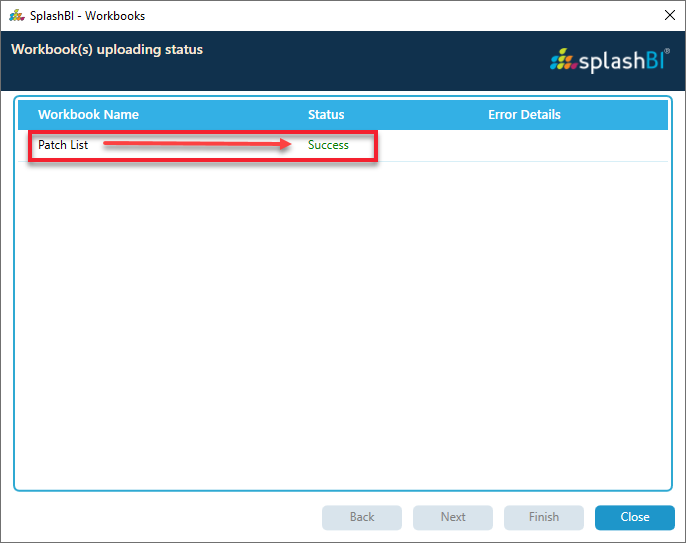
4)After clicking on finish you will directed to next window shwoing the success of the of the upload as shown in below screen .
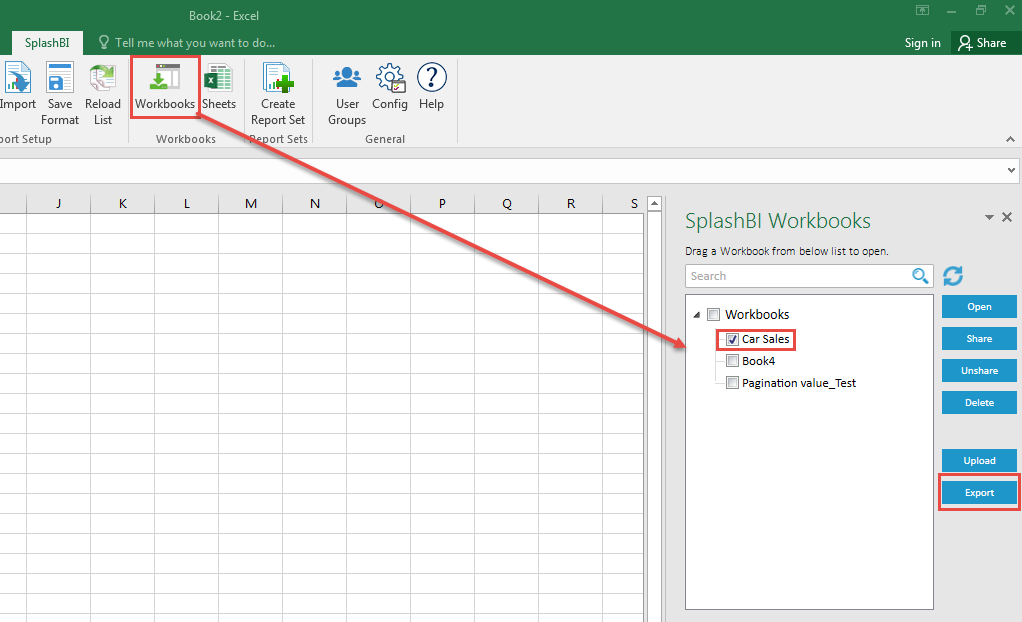
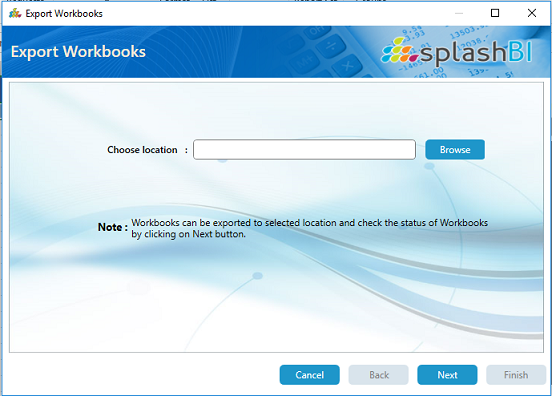
Export Workbooks : :
1) By Using this option, User can export selected workbooks to selected location.
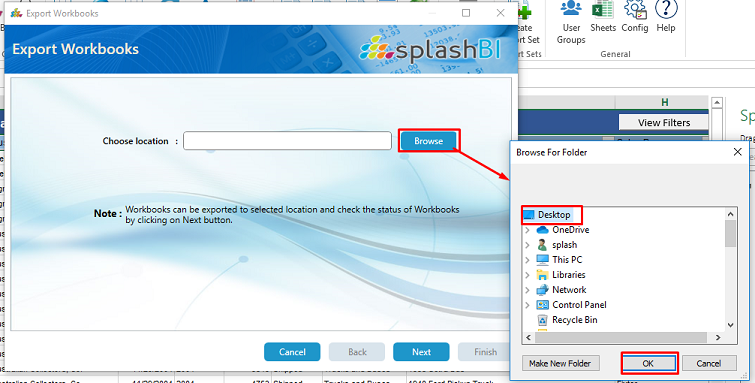
2) By clicking on next, User can select the desired location in the system where user wants to export the workbooks.
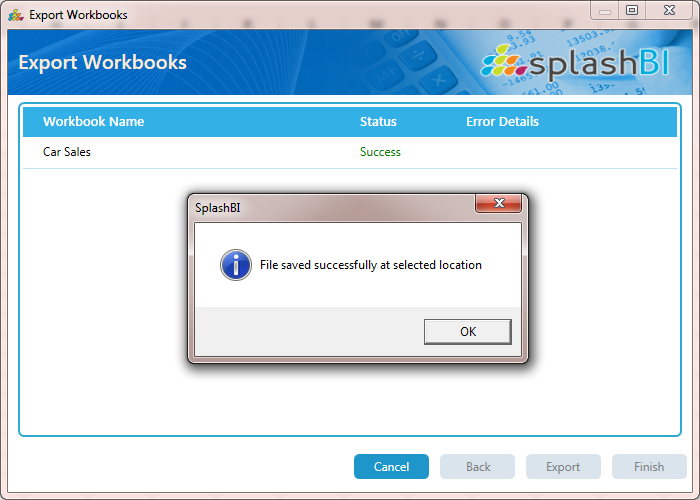
3) By clicking on export button, Workbook files will be saved at the desired location.

4) By clicking on finish button, success message will be popped up on the screen as below
2. Sheets:-
This option is to delete and toggle between the sheets. For more details please click here
3. Migrate Workbooks:- This option is to convert Expess XLC workbooks to SplashBI Excel Connect workbooks. For more details please click here