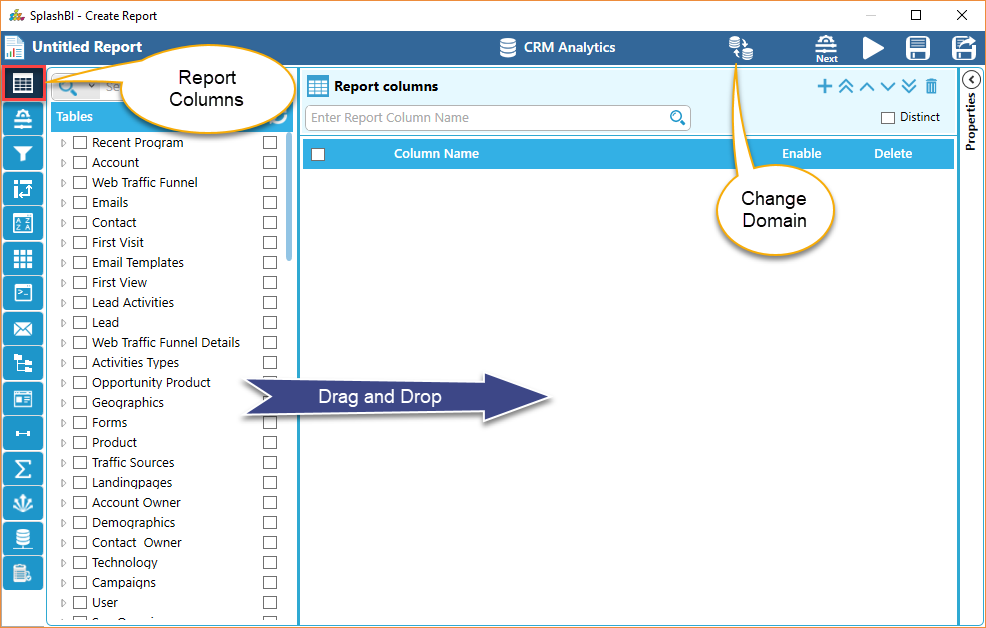
Once the user has selected the correct domain to build the report, the domains window will become populated with tables built into that specific domain. The user can expand and minimize by clicking on the table name to select the report columns. To add columns to the report, the user can either drag & drop into the Report Columns pane, or by double clicking on the report column.
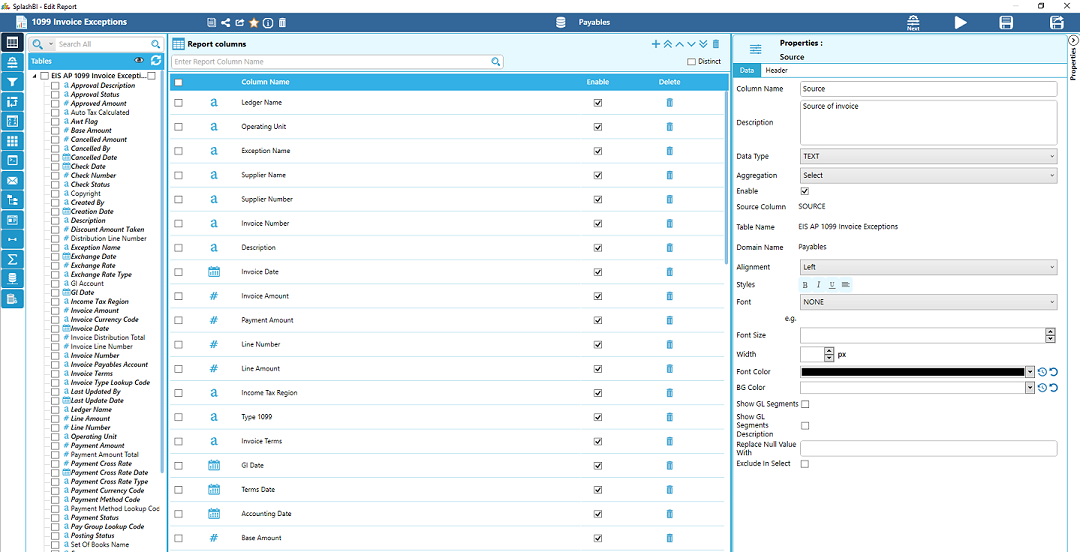
As the user adds tables to the Report Columns, the "Properties" menu will appear by clicking on the properties expander which is to the right side of the on the screen specific to particular column. These properties include the display name, data type, alignment inside the report cells, and font editing. If multiple columns are available, the user can edit each individually by clicking on to the specific column.
The properties menu allows the user to customize the appearance of data on the report.
Replace Null Value With : This option allows the user to replace the null value in the report data with some value given here of that particular report column.
Exclude In Select : If we check the exclude in select of particular column , that column is not visible in the report data.
The properties menu allows the user to customize the appearance of data on the report.

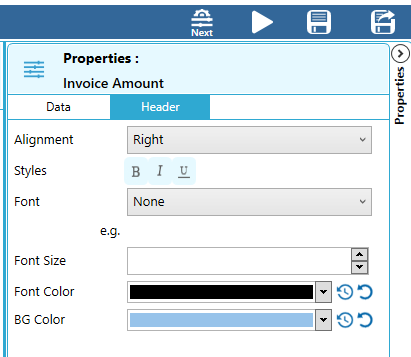
The properties menu allows the user to customize the appearance of header of the report.
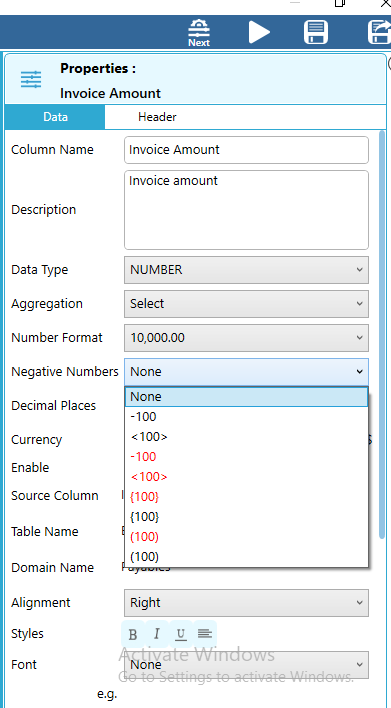
Added two extra display options for Negative Numbers in Report column
properties in create/edit report.
By clicking the  'Add Calculation Column' icon, the user can now create custom calculations that will be built into the report.
Click the  'Formula' icon to enter the function of the formula. A pop up window will be prompted, allowing the user to write out the formula with a variety of pre-programmed operators.
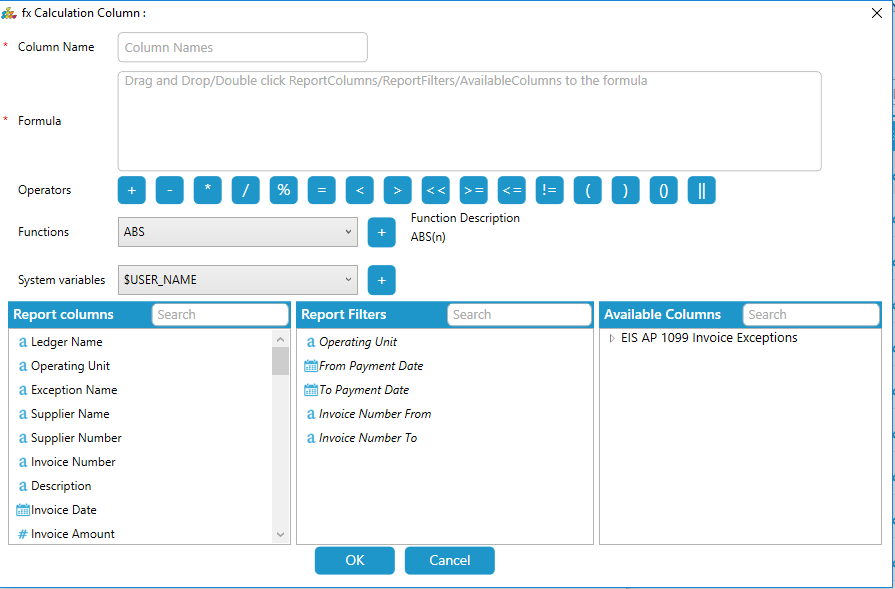
All columns that have already been added to the report will be available to the user to create custom calculations from. The user can also use other tables from the same domain to add to the complexity of the calculation.
Once the columns and properties are completed, click the ![]() 'Next' icon to proceed to the next step. To continue with this tutorial, click here.
'Next' icon to proceed to the next step. To continue with this tutorial, click here.