![]() Configure and Login to SplashGL
Configure and Login to SplashGL
Open Excel and create a new workbook. Notice in the ribbon a new tab named SplashBI
Login Dropdown -> Add Instance -> Add Connection Details
1. Add the data source instance URL up to the portal number or .com.
2. Add an Alias Name. Any name that would identify the data source instance such as PROD, TEST, UAT or DEV.
3. Select one Authentication Mode. If not sure, select Local Logon.

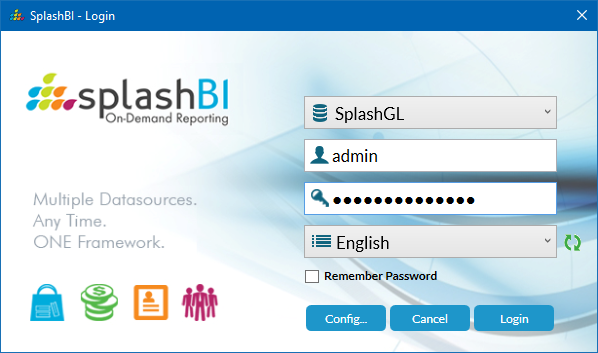
To login, simply click ‘Login’, click on your instance, and enter your SplashGL login credentials
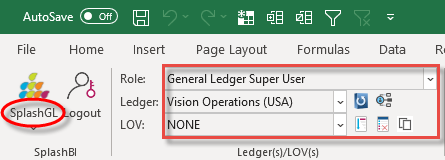
To verify if login was successful, make sure the following is displayed
1. Software ID as SplashGL,
2. Role/Responsibility,
3. Ledger Name